RV Exterior Reveal (sort of)

Graphic Links:
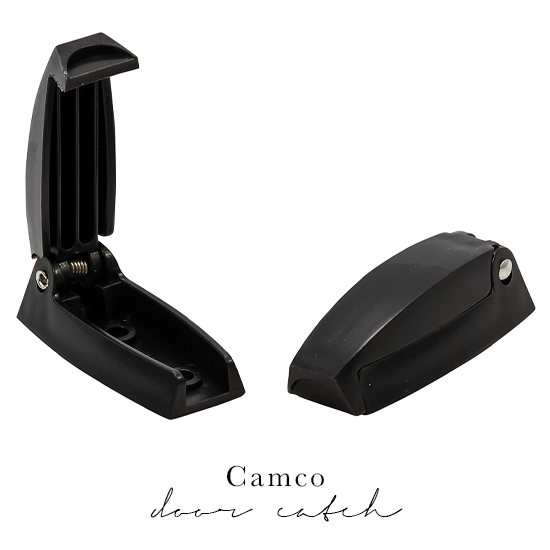
2. Door Holder
3. String Lights (to hang along awning)
4. Towel Hooks
5. Coffee Mugs
7. Fire Pit (similar)
8. Towels

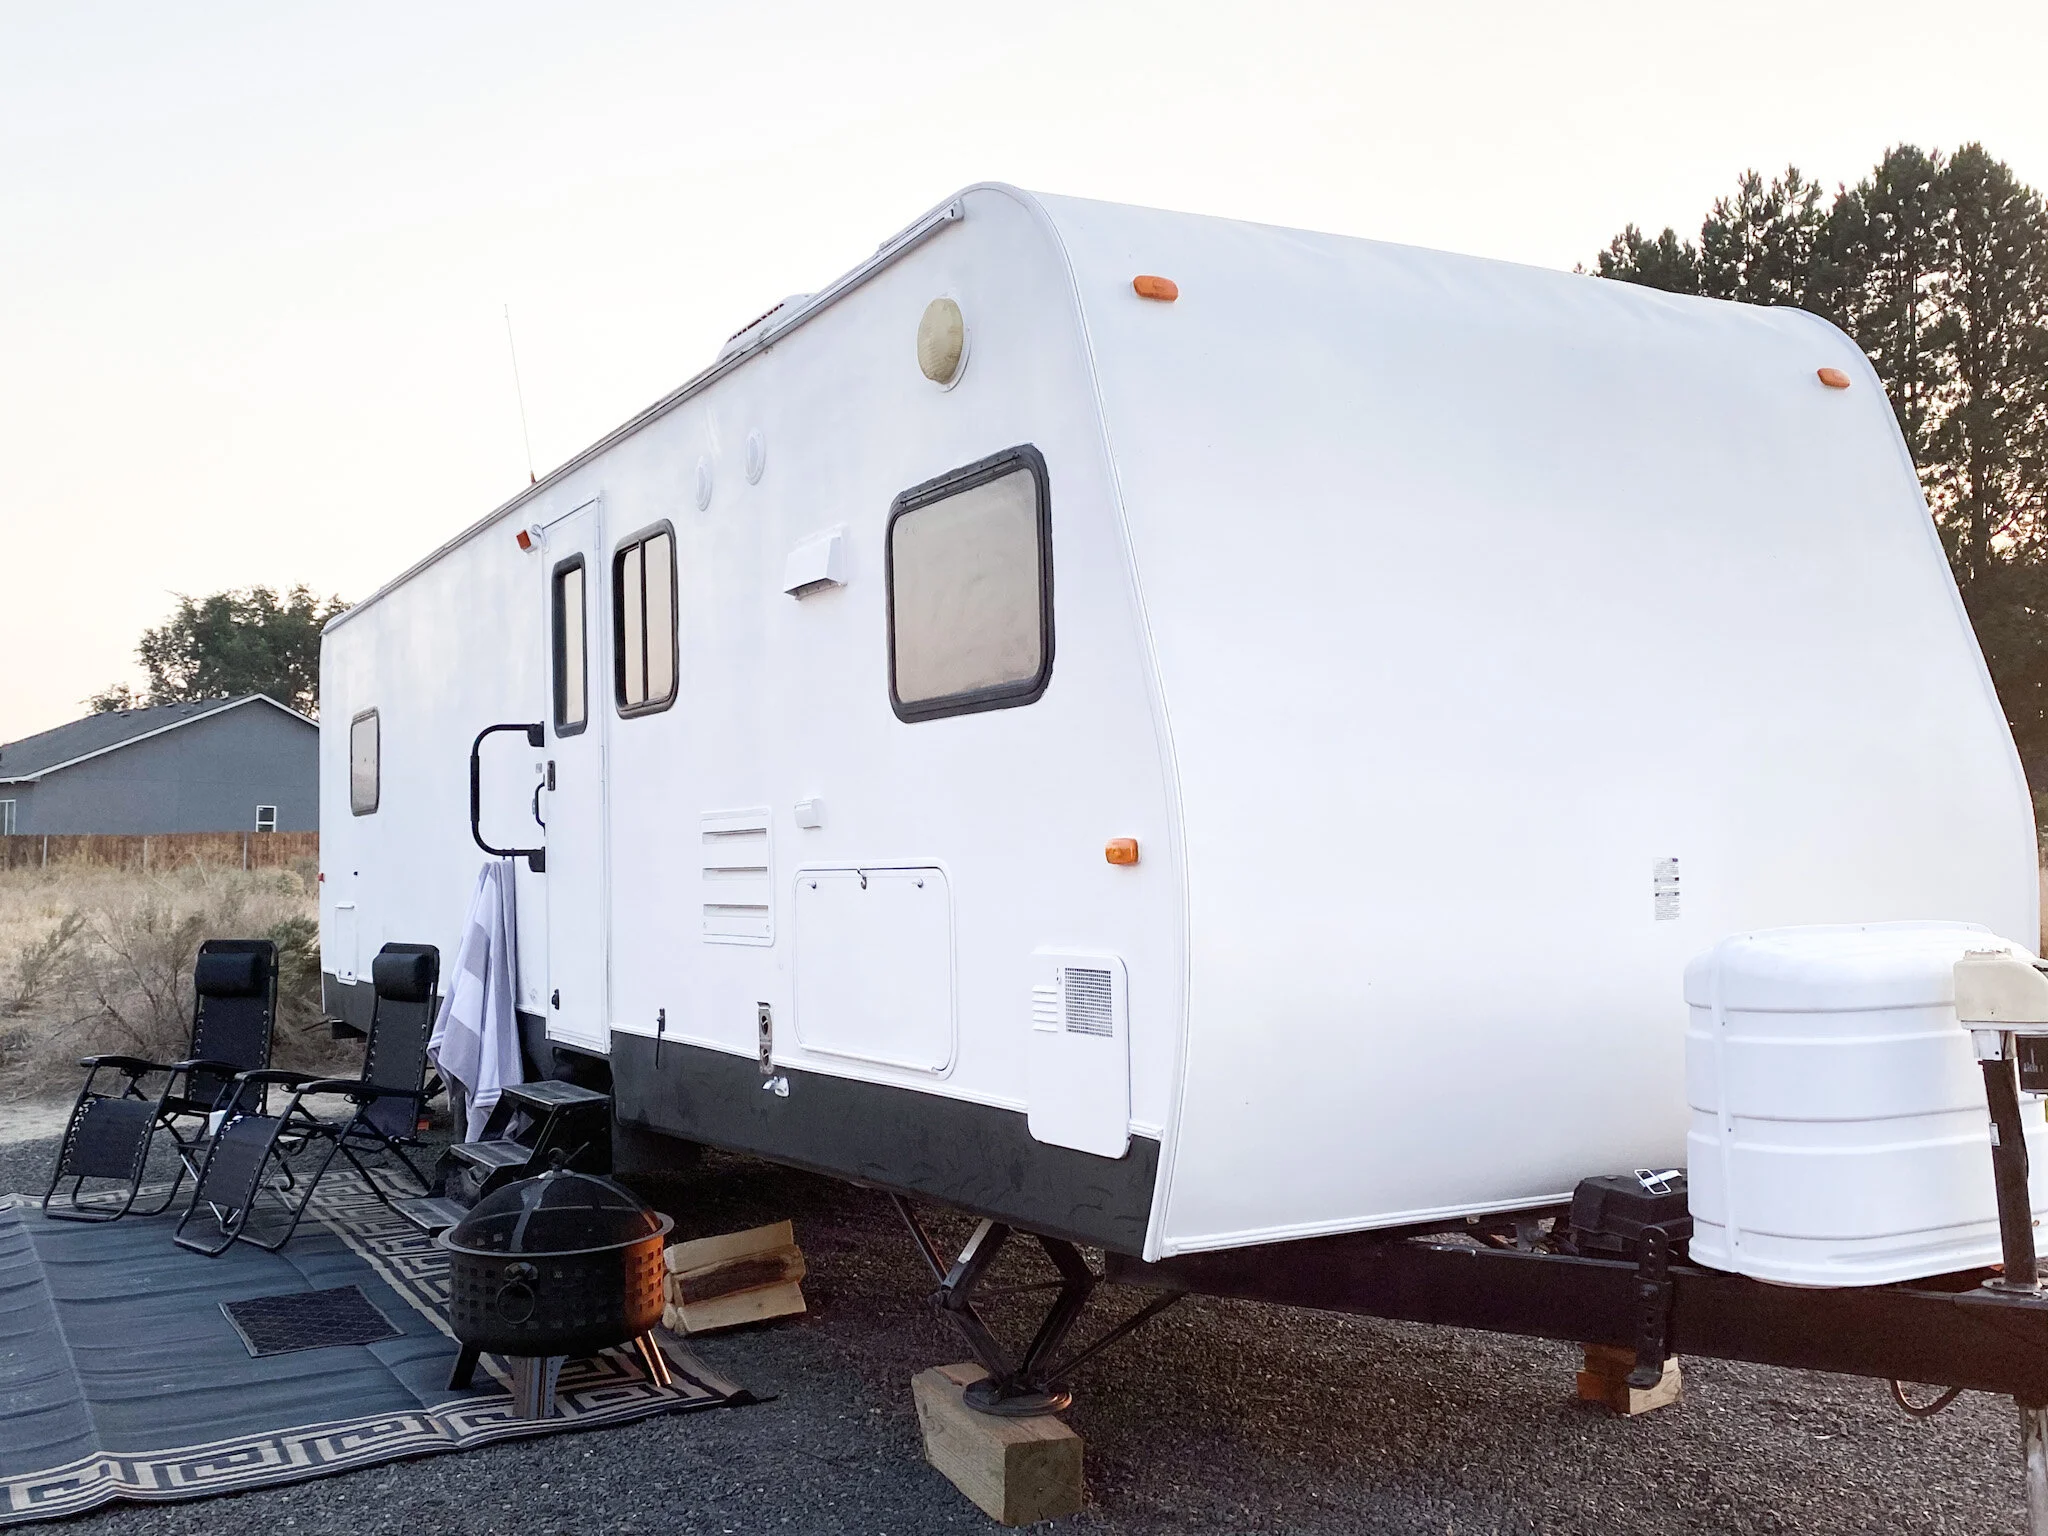
Okay guys, here she is! The exterior of the Tom Cat. This was the part I was least excited about but ended up being my favorite before and after! It never ceases to amaze me what a coat of white paint can do! The exterior wasn’t completely done, if you have been following along on our RV transformation journey then you know we blew a tire which caused some major damage to the interior. We are waiting to hear back if it is fixable so until then I am sharing what we have already done to the exterior, just in case the insurance company deems the trailer totaled in which we would not finish the exterior. So here she is, a little before and after!


So there are the pretty pictures, now I am going to get down to the nitty gritty for those interested or for those thinking about tackling their RV exteriors. There was not a whole lot of information on YouTube on this subject so I really had to dig in and do some research and then wing it, but luckily it all came together nicely. You can defintently go all out and use automotive paint and really make it look professional but just a heads up that will run you up to $5,000. We kept our exterior update around a few hundred dollars.
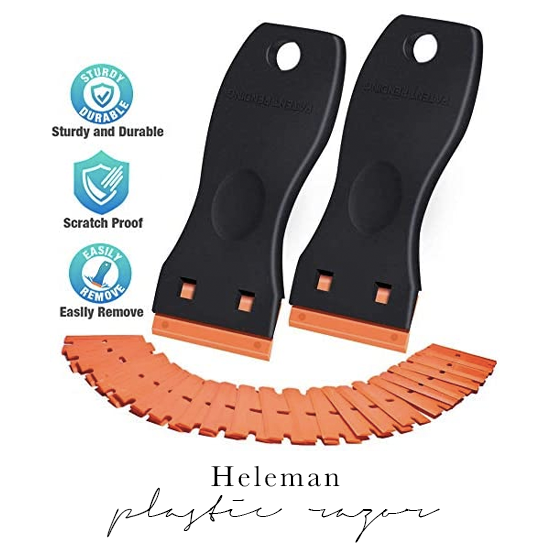
First thing first was getting these decals off. They were in such bad bad condition leaving them on was not an option. We took a blow dryer over the decals still in decent shape to heat them up a bit and then we were able to peel them right off. The decals that were not cracked were actually really easy to get off. There was unfortnelty a lot of decals that were very cracked and dried out that peeling them off using the blow dryer method didn’t really work. BUT with that said peel as much off with the blow dryer method because this is by the far the easiest and cleanest method. For those really worn decals I ordered Graphxoff it didn’t go as smoothly as a couple of the youtube videos made it look but after a few rounds of it we got it done. We also found these plastic razor blades from amazon super helpful to get the decals off without scratching the fiberglass. You can see the process in the pictures below. This was by the the worst part of the exterior renovation. We then used the power washer and gave her a good bath using dawn dish soap. Once all the decals were off and the trailer was washed it was then time to sand.


Sanding a 29 inch trailer sounds like a pain but in actuality it wasn’t too bad. You only need to do a light sand, not spending too much time in one area. We probably got the entire trailer done in about an hour a half using just a handheld sander and 240 grit sandpaper. After sanding we gave it a good rinse with the power washer again once dried we used a clean cloth and went over the entire trailer with denatured alcohol.

Painting:
After some research I found you can use pretty much any exterior paint, we went with an acrylic based paint because we would be using our spray gun to paint and being able to clean that in-between sprays with just water would make things easier for us. So after some discussion with the gal at Home Depot we went with Kilz exterior primer and then Bear exterior paint. Everything I read suggested doing one light coat of primer, but after a lot of back and forth with my partner (aka my mom) she decided it needed another coat of primer to make sure the declaration from for the decals would be fully covered. We let that dry over night and then sprayed on the white coat the next day, let dry for 4 hours and then applied the second coat of white paint. The next day we rolled on the black paint along bottom. I am happy with the outcome, of course its not perfect but it turned out pretty darn good! If I would change one thing I would do full gloss instead of semi gloss to get that fiberglass shiny look. I had thought the wax would add a shine but it didn’t really.
We used black spray paint (primer and paint for metal) and sprayed the bumper, the stabilizers and even the rims. *The rim you see is white because that is the spare tire from the blow out.
We let the paint dry for 24 hours and then applied two coats of wax to the entire trailer. I had my dad and nephew helping with the wax so that went pretty quickly, I highly recommend recruiting help to make it go quickly and smoothly.


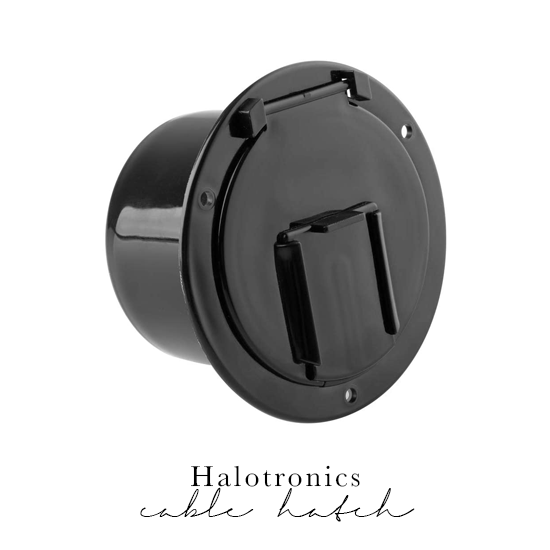
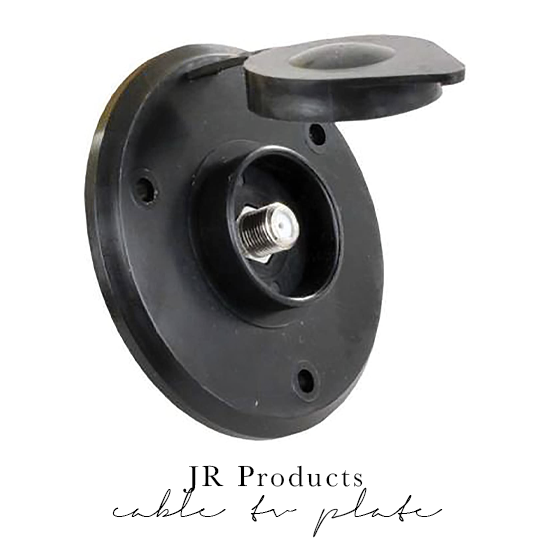
We also updated all the exterior “hardware” I guess you could say, replacing most things with black options to really pull tougher the black and white look. We also replaced all the exterior stickers with new ones which we found on Amazon here.
*Here you can see how the paint job is not perfect, the caulking used was not paintable caulking and I didn’t think it was a big enough deal to remove and redo all the caulking. You can not really tell unless you get up close like this.
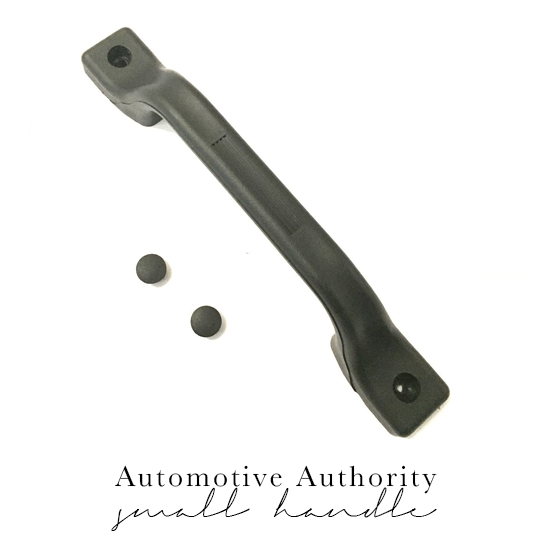
We also replaced the handles next to the front door and the door latch to the black options, were were able to find all these things fairly cheap on amazon. I also added these foldable hooks to the exterior to hang the girls towels while we are camping. The few times we used the trailer these were so handy, highly recommend adding to any trailer, especially if you have kids.

What we had/have still planned for the exterior:
We didn’t have too much left on the exterior, just a couple additions that would have added some character. On the front we still had a black awning to add as well as black fender skirt above the wheels. We debated putting a decal on the big open area but thought since we were selling it we would leave it blank then the if the owners wanted they could add a personalized decal. If I was to keep it for myself I would probably leave it blank, but I am a plain Jane!


For the front we had planned to add diamond plated sheet metal to the top and bottom to add some decal and cover up a little delimitation. We had planned to get this done here in town (Kennewick, WA) at Apollo sheet metal. Finding the metal was not an issue but finding some one who could bend it along these curves in such large pieces was the challenge. We were quoted about $150 for this, so not too bad. And again the talks of adding a decal to the front came up but once again I personally would leave it blank.


The Stuff You Need:


I am really happy with the way both the interior and exterior turned out - even if we’re going through a bit of an obstacle with it now! I hope this helps you if you’re doing an RV renovation and make sure to check out the links above for all of the little details you may not have thought of!
Much Love,
